 |
Work Order
v7.0.1-2735
StyleLine Work Order
|


|
|
Work Order
v7.0.1-2735
StyleLine Work Order
|
|
This guide will explain how to complete the following:
If you've already downloaded and installed Work Order, this guide should take you less than two minutes to complete.
| Description | Screenshot |
|---|---|
See the Installation instructions if you have not already done so. This should have placed 2 new icons on your desktop.
| |
| Start the normal Work Order Window. This will load a number of items from the database, and will then display the main window. | 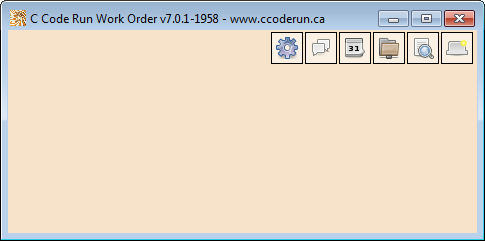
|
Click on the "new order" button in the upper-right (Create Order). | 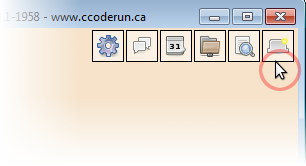
|
| This should start a completely new order. For this tutorial you can skip the first few tabs, but if curious, information on filling these out is available here: | 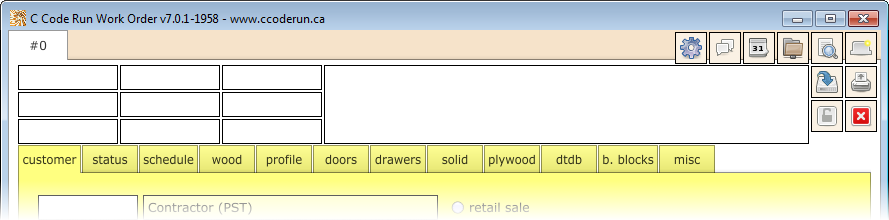
|
Click on the doors tab (sixth from the left) to create new doors (Doors). Click on the "+" button to create a new door height group. | 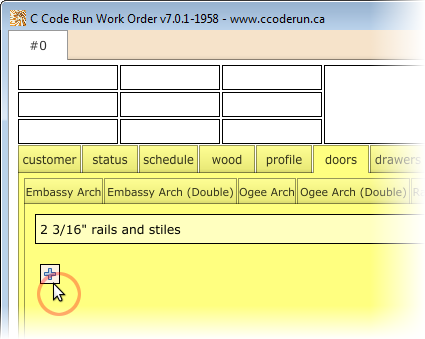
|
| Set the full height of the door. In this example, the height is 18 3/16 inches. | 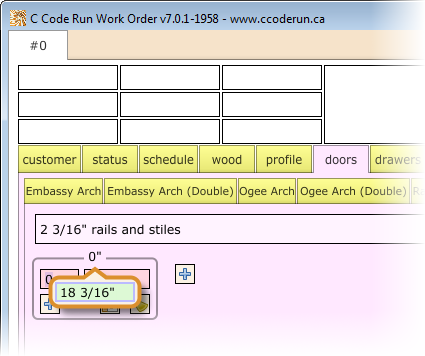
|
Create several new doors. If you use TAB to move between the quantity and width fields, new empty rows will automatically be inserted as necessary. In this example, the first two doors measure 12 1/4" across, while the next door is exactly 10" wide. | 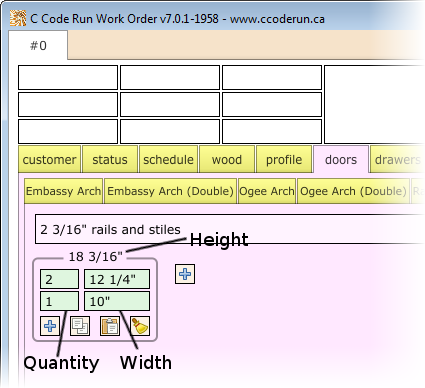
|
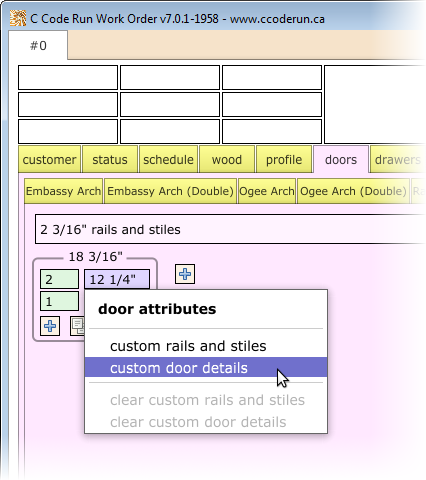
To gain access to additional door attributes, do one of the following:
| 
|
Select "custom door details" and make the appropriate changes. Press ESC or click elsewhere to dismiss the "door details" window. | 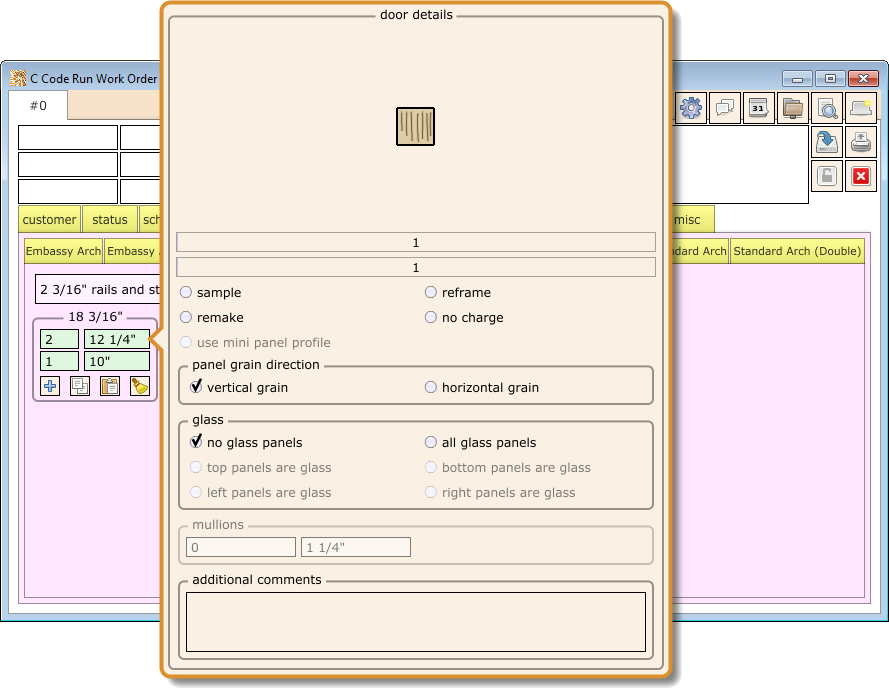
|
| Click on the Save Order button. This will assign a unique identifier to the order and re-load the full order. | 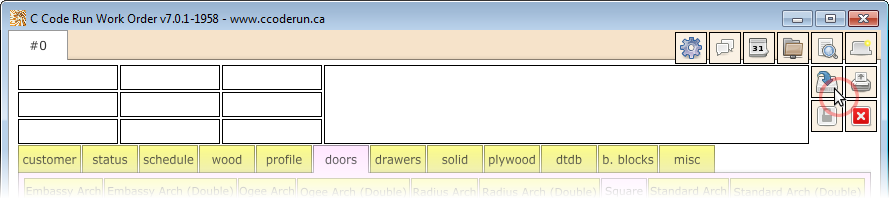
|
| After the order has been saved, click on the Print Order button and select which report to create. | 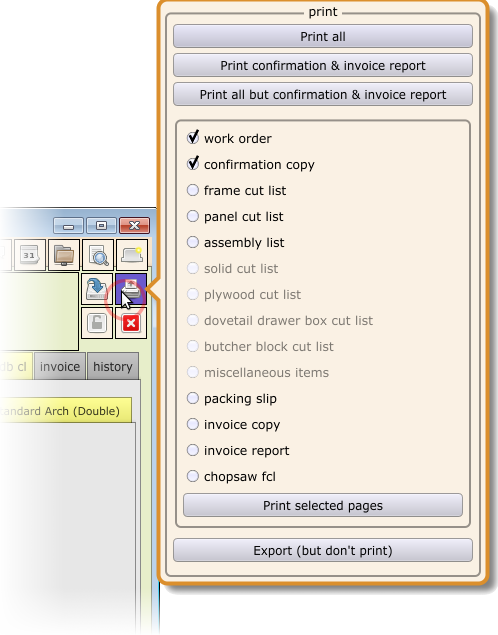
|
| When finished, click on the red Close Order button. | 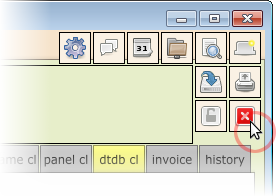
|
 1.8.13