Summary
OpenCV's C++ API doesn't have to be complicated to use. This is the first in a series of articles on how to get started with OpenCV. First step is to get everything installed and to build your first OpenCV application.
Installing
Installing OpenCV on Ubuntu 18.04 is simple:
In your CMake projects, include the following:
And when you link your application, include the necessary OpenCV libraries, with the usual ${OpenCV_LIBS} which for me seems to expand to a list of about 40 libraries at /usr/lib/x86_64-linux-gnu/libopencv_*.so. See the CMakeLists.txt included in this post for a working example.
Source Code
You'll want to keep an open browser tab on the OpenCV API. For example:
The central class in OpenCV is cv::Mat. Everything revolves around the matrix cv::Mat. It is used to for source images, destination images, and various types of parameters. It is also reference counted, so copying from one cv::Mat to another is quick unless you make a deep copy with a call such as cv::Mat::clone().
For our first simple OpenCV application, this is how we open, read, and display an image file:
How you obtain the input image is outside the scope of OpenCV. In my case, I use the C++ library CamCap to capture images from the attached webcam.
If you ran the code above against capture.jpg, you should see something similar to this:
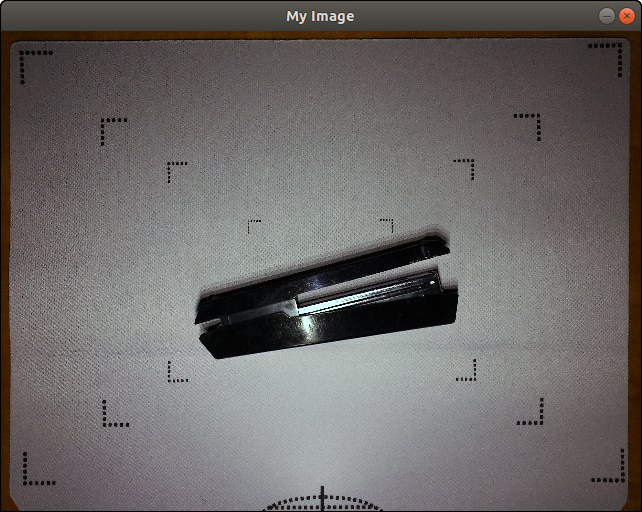
With this example, I'd like to rotate the image 180° so the stapler is right-side up. A 2nd cv::Mat is instantiated, and the image rotation is applied like this:
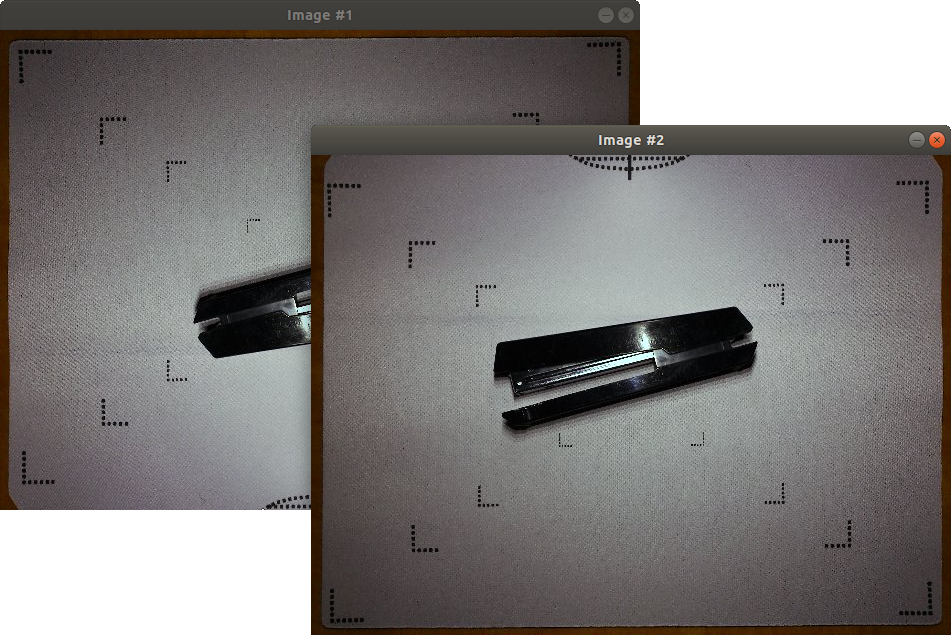
Take a peek at the incredibly simple CMakeLists.txt file used to create the necessary makefile. Similar to the previous code above, this will create 2 windows that looks like this:
You now have your first OpenCV application. The next post covers some OpenCV API calls to manage colour, grayscale, and binary thresholds.
