Summary
In the previous post I describe how to get started with OpenCV.
In this post, we'll be manipulating colours.
Source Code
The usual way to read an image will automatically load all colour channels -- R, G, and B. For example:
If you want to discard the colour information and keep just the intensity, you can force OpenCV to load an image as grayscale:
But another option exists. You can take a loaded colour image, and tell OpenCV to convert it from RGB to grayscale. The twist is that when it comes to OpenCV, colours are BGR, not RGB. The code looks like this:
Note how the parameter is called cv::COLOR_BGR2GRAY, meaning "blue-green-red-to-grayscale".
Testing out all 3 of these (imread, grayscale, and cvtColor) gives us this:

Note how the two grayscale solutions give identical results.
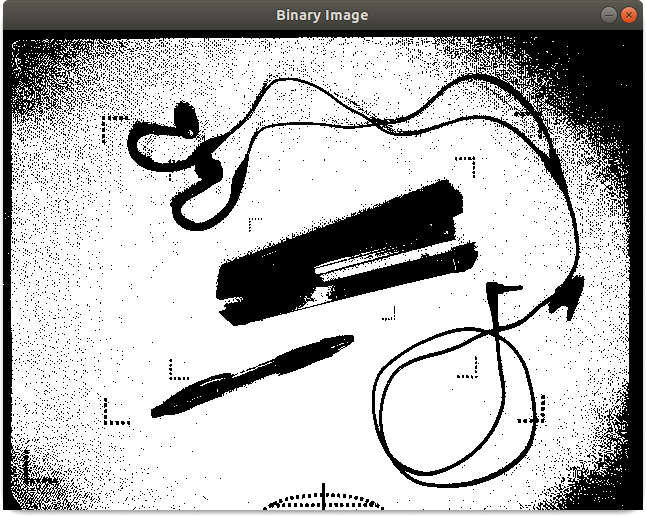
With OpenCV, there are times when colour gets in the way and the input image must be grayscale. And there are times when grayscale is still too much and the image must be converted to a binary black and white image. One way to generate a black and white image is with cv::threshold(). For example:
The binary black+white image should look similar to this:
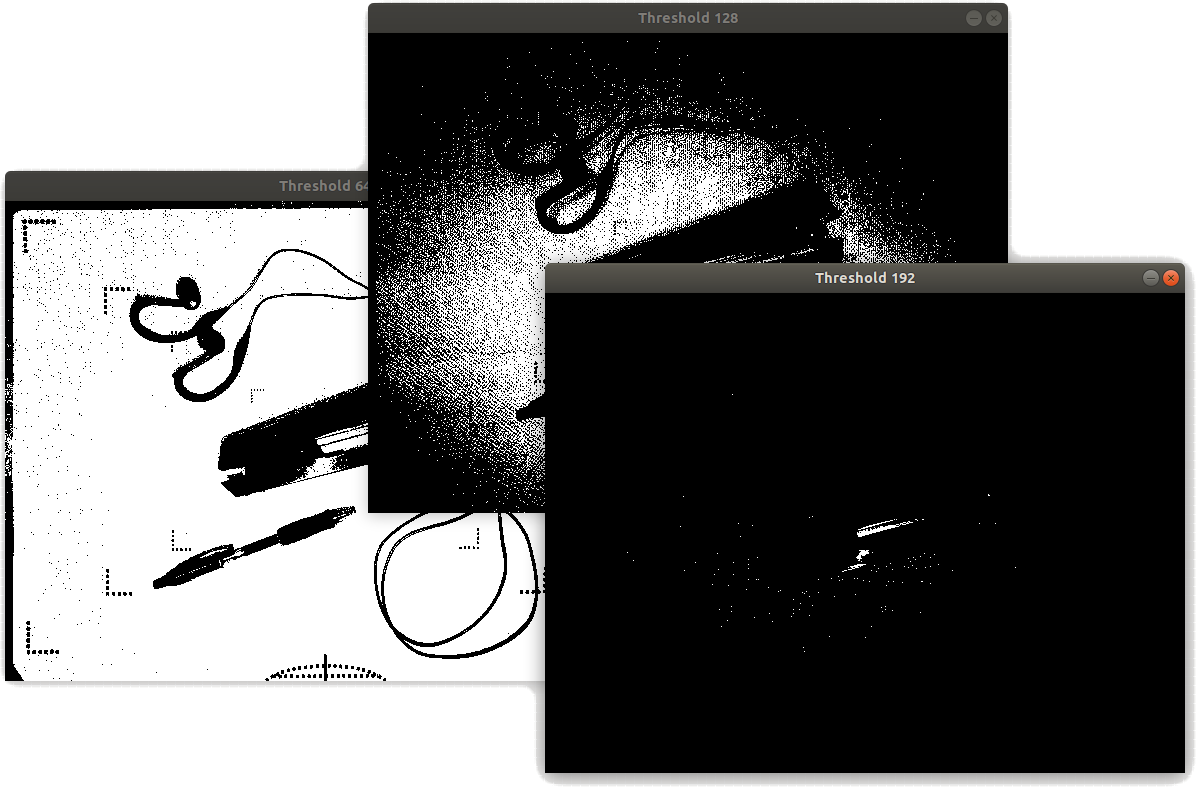
The key max value is normally 255, but the threshold to use is a bit of a black art. (Pun intended!) Depending on the image composition, the lighting, the image source, etc, you never know exactly what threshold to use. The last flag specified with cv::threshold() helps give optimal results without worrying about the threshold value. Without cv::THRESH_OTSU, specifying a too low or to high threshold will result in a binary image which is too light or too dark, such as:
This gives these results:
But the exact same thresholds combined with cv::THRESH_OTSU demonstrates that the threshold is completely ignored in this case, giving us these identical results:
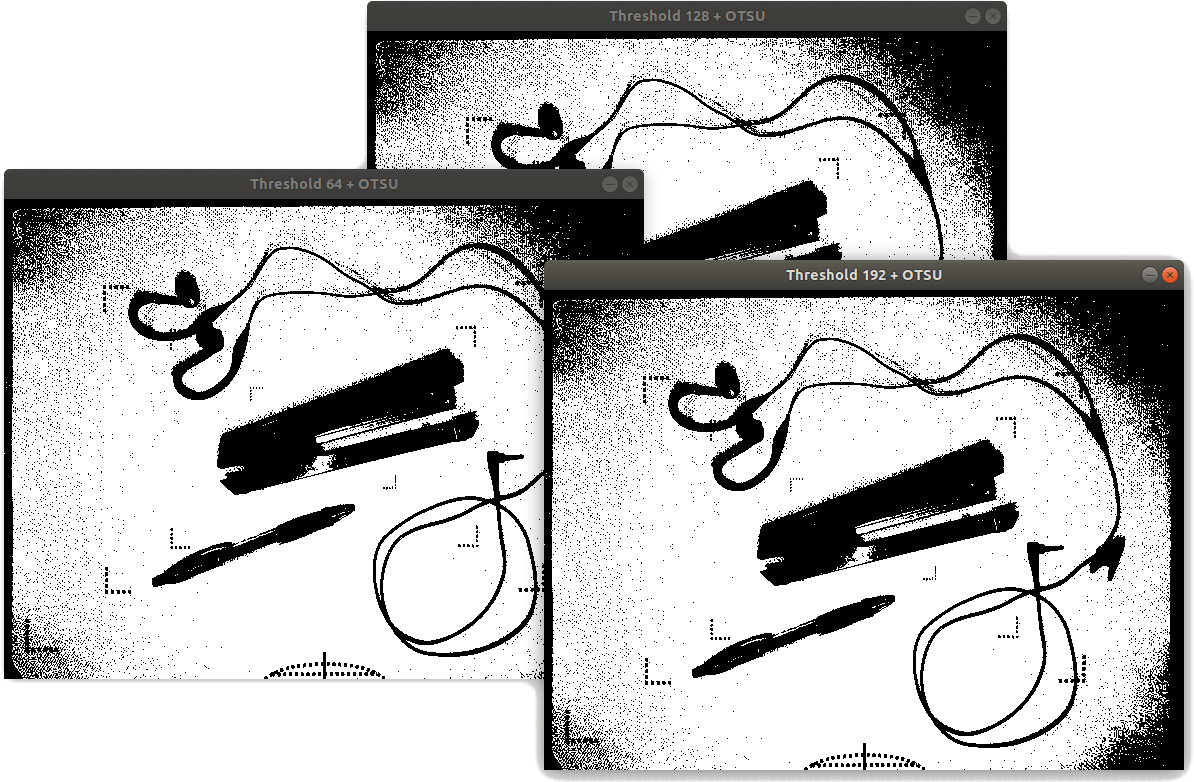
To be clear, the difference between these images is the OTSU flag:
Knowing how to generate a decent black+white binary image is key for calls such as cv::canny() used in edge detection.
See the next post for more information on OpenCV.
